Every year I try to make a new Christmas themed wreath for our front door and after years of making the regular fir wreath with holly and different plants I decided this year to give a bauble wreath a try.
I did mention in a previous post about making how I made it and what you'd need to make your own. I think this would work for pretty much any season though and just change up the colors it would look super cute for Easter with pastels.
What you will need:
Baubles in all different sizes I picked my up from Tesco on a for £3 a box and used Gold, Red & Silver.
A Glue Gun (be careful with how hot he glue gets though I did have a few Baubles melt in places)
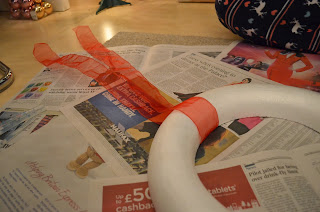
and the main part of this project is a Styrofoam ring.
I just put some old newspaper down to make sure I didn't glue anything to the floor or of anything spilt it didn't ruin my flooring.
I decided to go for a mix of matte, shiny and glitter bauble I think its a great combination.
First I used a thick ribbon and glued it around the top of the ring (this is your decision you can use string or if you a door that you can just hook the wreath onto it go for it :) )
Before making this I did do a quick YouTube search for a good idea on where to start some people like to add to 4 sides but I personally just started on one side and made my way round the ring and just made sure that one side didn't have more colors etc than the other.
What I really love about this is that it will last for years unlike the real ones I have made in the past I cant wait to make more fore next year for different doors int he house and plus means if we have another theme for redecorating next year I get to have fun with new colors!!

XOXO


No comments:
Post a Comment